Building views in code can seem daunting at first, especially when you’re used to doing it in Interface Builder. Today, I hope to show you that there isn’t any magic to it.
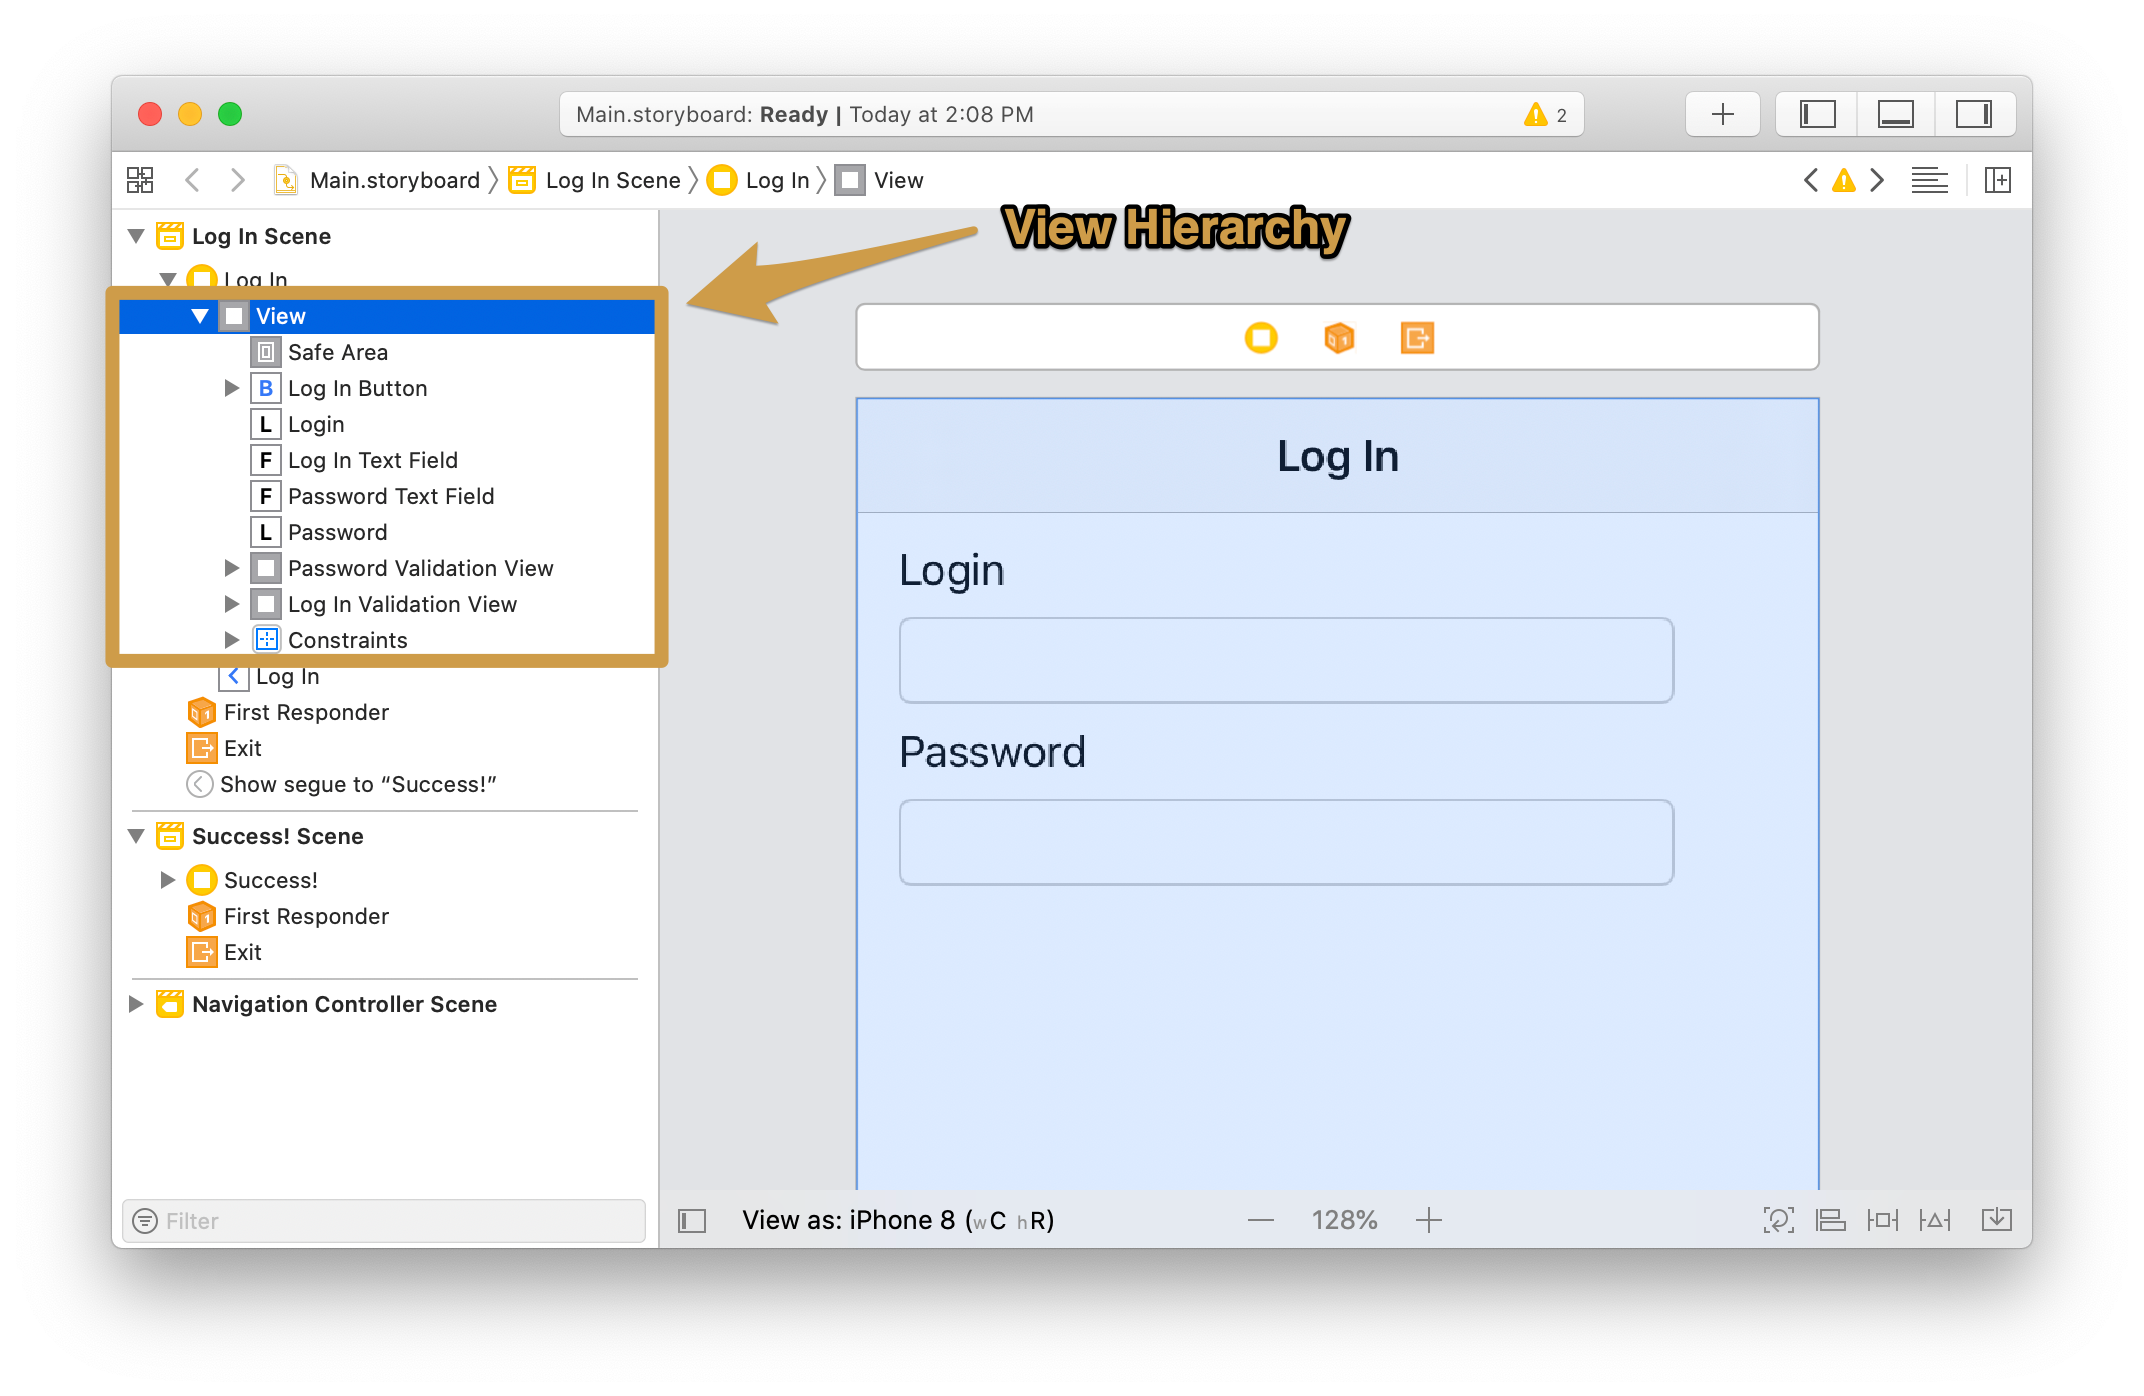
In UIKit, views are represented as a tree-like hierarchy. A UIView can have many children (called subviews), but only one parent (called the superview). If you’ve used Interface Builder in the past, you’ll notice this hierarchy in the left panel.
These hierarchies are a great way to organize your views. A single UIView subclass can have a deep and complex hierarchy in order to represent a concept like “ContactsTableViewCell” or “SettingsProfileView”. But in reality, these views are only containers for other, simpler views.
As you can guess, you can build your own views yourself! And what’s more, it’s not very difficult. All you need to do is follow these 4 simple steps:
- Create and add subviews.
- Create and add constraints.
- Inject your data
- Hook up actions and create expose them with a delegate
Not so scary, right? By the end of this article, you’ll see that there’s no magic in building views in code. You’ll be able to create your own custom views with subviews, add basic constraints, and hook up data and actions so users can interact with it in a meaningful way.
Let’s dive in!
Creating and adding subviews
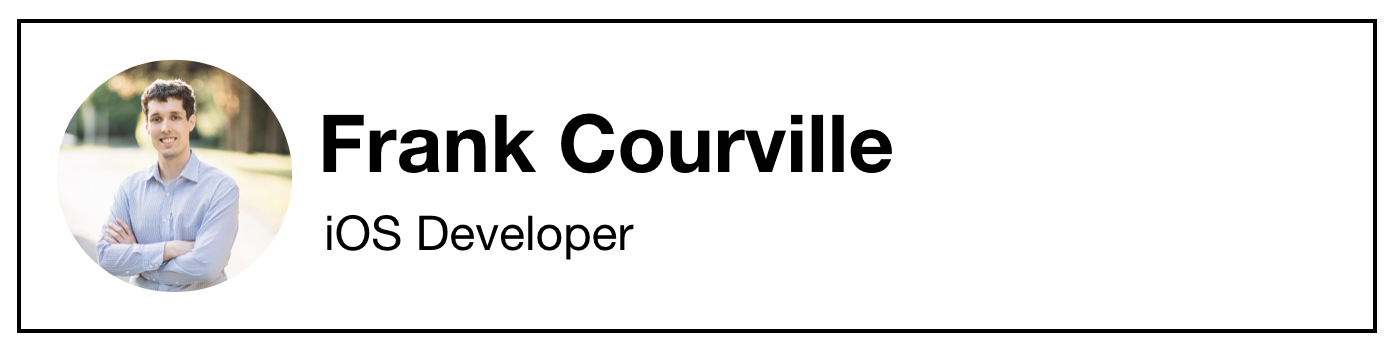
Let’s imagine we want to build something like this: a Profile Header view.
We first need to break down this view and figure out its hierarchy.
I see a view with a couple of UILabels (one for the name, and one for the occupation) and a UIImageView. So let’s create a UIView subclass with properties to represent this.
(For now, we’ll define them as optional vars, but later on in the series, we’ll explore how we can clean this up.)
class ProfileHeaderView: UIView {

    var avatarImageView: UIImageView?
    var nameLabel: UILabel?
    var occupationLabel: UILabel?
}
Or check out this snazzy gif 🤩
So far so good. Now we need to create these views, and add them as subviews. Let’s do that in a method called setupView(). This is also a good time to define some basic styling.
class ProfileHeaderView: UIView {
    //...

    func setupView() {
        avatarImageView = UIImageView()
        avatarImageView?.layer.cornerRadius = 32
        addSubview(avatarImageView)

        nameLabel = UILabel()
        nameLabel?.font = UIFont.preferredFont(forTextStyle: .title3)
        addSubview(nameLabel)

        occupationLabel = UILabel()
        occupationLabel?.font = UIFont.preferredFont(forTextStyle: .caption1)
        addSubview(occupationLabel)
    }
}
Now we need to figure out from where exactly we should call setupView().
For most cases, Apple recommends setting up the view hierarchy in your subclass’s initializer, so let’s go ahead and do that.
And speaking of initializers, UIView has 2 initializers that need to be implemented:
init(with frame:)is used when the view is instantiated in code.init(with coder:)for when the view is created via Interface Builder.
Let’s override our class’s initializers and add setupView():
class ProfileHeaderView: UIView {
    //...
    override init(frame: CGRect) {
        super.init(frame: frame)

        setupView()
    }

    required init?(coder: NSCoder) {
        super.init(coder: coder)

        setupView()
    }
}
Create and add constraints
Now we need to add constraints to our view. We’ll dive deeper in programmatic constraints in the next article of this series, but here’s a quick taste.
As with adding subviews, the best time time to create your constraints is in the view’s initializer, so let’s add another method called setupConstraints().
class ProfileHeaderView: UIView {
    //...

    override init(frame: CGRect) {
        super.init(frame: frame)

        setupView()
        setupConstraints()
    }

    required init?(coder: NSCoder) {
        super.init(coder: coder)

        setupView()
        setupConstraints()
    }

    func setupConstraints() {

    }
}
In order to setup our constraints, we need to tell the system how our subviews are laid out in relation with their superview and each other.
But, there’s one property we need to set before we do all this. It’s called translatesAutoresizingMaskIntoConstraints. This property is set to true by default, and it tells AutoLayout to use the old layout system to size and place the view. This is not the behaviour we want, so we need to set this false for each of our subviews.
func setupConstraints() {

    avatarImageView.translatesAutoresizingMaskIntoConstraints = false
    nameLabel.translatesAutoresizingMaskIntoConstraints = false
    occupationLabel.translatesAutoresizingMaskIntoConstraints = false
}
Now we can go ahead and add our constraints. The most efficient way to do this is to create them all and activate them using the static function NSLayoutConstraint.activate(_ constraints:).
Let’s go ahead and do that below.
func setupConstraints() {
// ...
    NSLayoutConstraint.activate([
        avatarImageView.topAnchor.constraint(equalTo: layoutMarginsGuide.topAnchor),
        avatarImageView.leadingAnchor.constraint(equalTo: layoutMarginsGuide.leadingAnchor),
        avatarImageView.bottomAnchor.constraint(equalTo: layoutMarginsGuide.bottomAnchor),
        avatarImageView.widthAnchor.constraint(equalTo: avatarImageView.heightAnchor),

        nameLabel.leadingAnchor.constraint(equalToSystemSpacingAfter: avatarImageView.trailingAnchor, multiplier: 1.0),
        nameLabel.trailingAnchor.constraint(equalTo: layoutMarginsGuide.trailingAnchor),
        nameLabel.bottomAnchor.constraint(equalTo: avatarImageView.centerYAnchor),

        occupationLabel.leadingAnchor.constraint(equalToSystemSpacingAfter: avatarImageView.trailingAnchor, multiplier: 1.0),
        occupationLabel.trailingAnchor.constraint(equalTo: layoutMarginsGuide.trailingAnchor),
        occupationLabel.topAnchor.constraint(equalTo: avatarImageView.centerYAnchor)
    ])
}
One of the things that I really enjoy about using this API is that it reads like a story. You can see that our avatarImageView is constrained on the top, left and bottom, and that its height is equal to its width. And then the nameLabel is set just above the avatar’s centre, and occupationLabel is set just below.
Now let’s get some data into this view!
Inject your data
One of the great advantages of creating your own UIView is that you get to decide what the API is going to be like. You can make it as flexible or as rigid as you want, and you can change your mind whenever you like.
In our case, we want to set our user’s avatar, name and occupation. There’s a few different ways we could go about this.
Our first option is simply to not do anything at all, and let whoever is using this class to reach into the subviews and set them themselves.
let profileView = ProfileView(frame: .zero)
profileView.avatarImageView?.image = UIImage(named: "avatar")
profileView.nameLabel?.text = "Frank Courville"
profileView.occupationLabel?.text = "iOS Developer"
This is fine, but I think we can do better. We can’t reasonably expect users of this class (whether it’s someone else, or even our future self) to know the intricate details of how this works inside.
Another avenue we have is to make our subviews private, and expose properties that drill down into them.
class ProfileHeaderView: UIView {
    var avatarImage: UIImage? {
        get { return avatarImageView?.image }
        set { avatarImageView?.image = newValue }
    }

    var name: String? {
        get { return nameLabel?.text }
        set { nameLabel?.text = newValue }
    }

    var occupation: String? {
        get { return occupationLabel?.text }
        set { occupationLabel?.text = newValue }
    }
}
This is a great approach to expose the functionality of our custom view in a way that feels at home among the rest of UIKit. This also plays well with @IBDesignable, if you want to go down that route.
The third option would be to create a method to update everything in one go. For most views that are “set-and-forget”, this is the most straightforward approach.
class ProfileHeaderView: UIView {
    func updateView(withImage image: UIImage?, name: String?, occupation: String?) {
        avatarImageView?.image = image
        nameLabel?.text = name
        occupationLabel?.text = occupation
    }
}
When it comes to my own code, I often find myself using this option. However, if I were to create a view that’s highly customizable or reusable, I think option 2 is best.
Hooking up your actions
Let’s imagine you want to know when the user taps on his avatar. How would we set this up in code?
First, we’ll create a delegate protocol to expose this event to the outside world.
(If you want to learn more about delegate protocols, check out this article!)
protocol ProfileHeaderViewDelegate: AnyObject {
    func didTapAvatarImage(in view: ProfileHeaderView)
}

class ProfileHeaderView: UIView {
    weak var delegate: ProfileHeaderViewDelegate?
}
Next, we’ll add a UITapGestureRecognizer to our avatarImageView. We’ll also make sure that the user can properly interact with it.
class ProfileHeaderView: UIView {
	//...
    func setupView() {
        avatarImageView = UIImageView()
        avatarImageView?.isUserInteractionEnabled = true
        let tapGesture = UITapGestureRecognizer(target: self, action: #selector(handleAvatarImageTapped(sender:)))
        avatarImageView?.addGestureRecognizer(tapGesture)
	}
}
And finally, we need to add a method to handle the tap. Don’t forget to annotate it with @objc!
class ProfileHeaderView: UIView {
    @objc func handleAvatarImageTapped(sender: UITapGestureRecognizer) {
        delegate?.didTapAvatarImage(in: self)
    }
}
With this plumbing in place, any other view or view controller can conform to ProfileHeaderViewDelegate and know when the avatar is tapped.
You made it!
That’s all there is to it! We saw how to programmatically create a UIView in 4 simple steps.
You’ll quickly see that these steps will be all you need to create the vast majority of views in your app. I hope you feel empowered to craft stunning interfaces for your users.
If you want to grab the sample code for this article, you can do that below.