Have a look at the three screenshots below. Notice what they have in common?
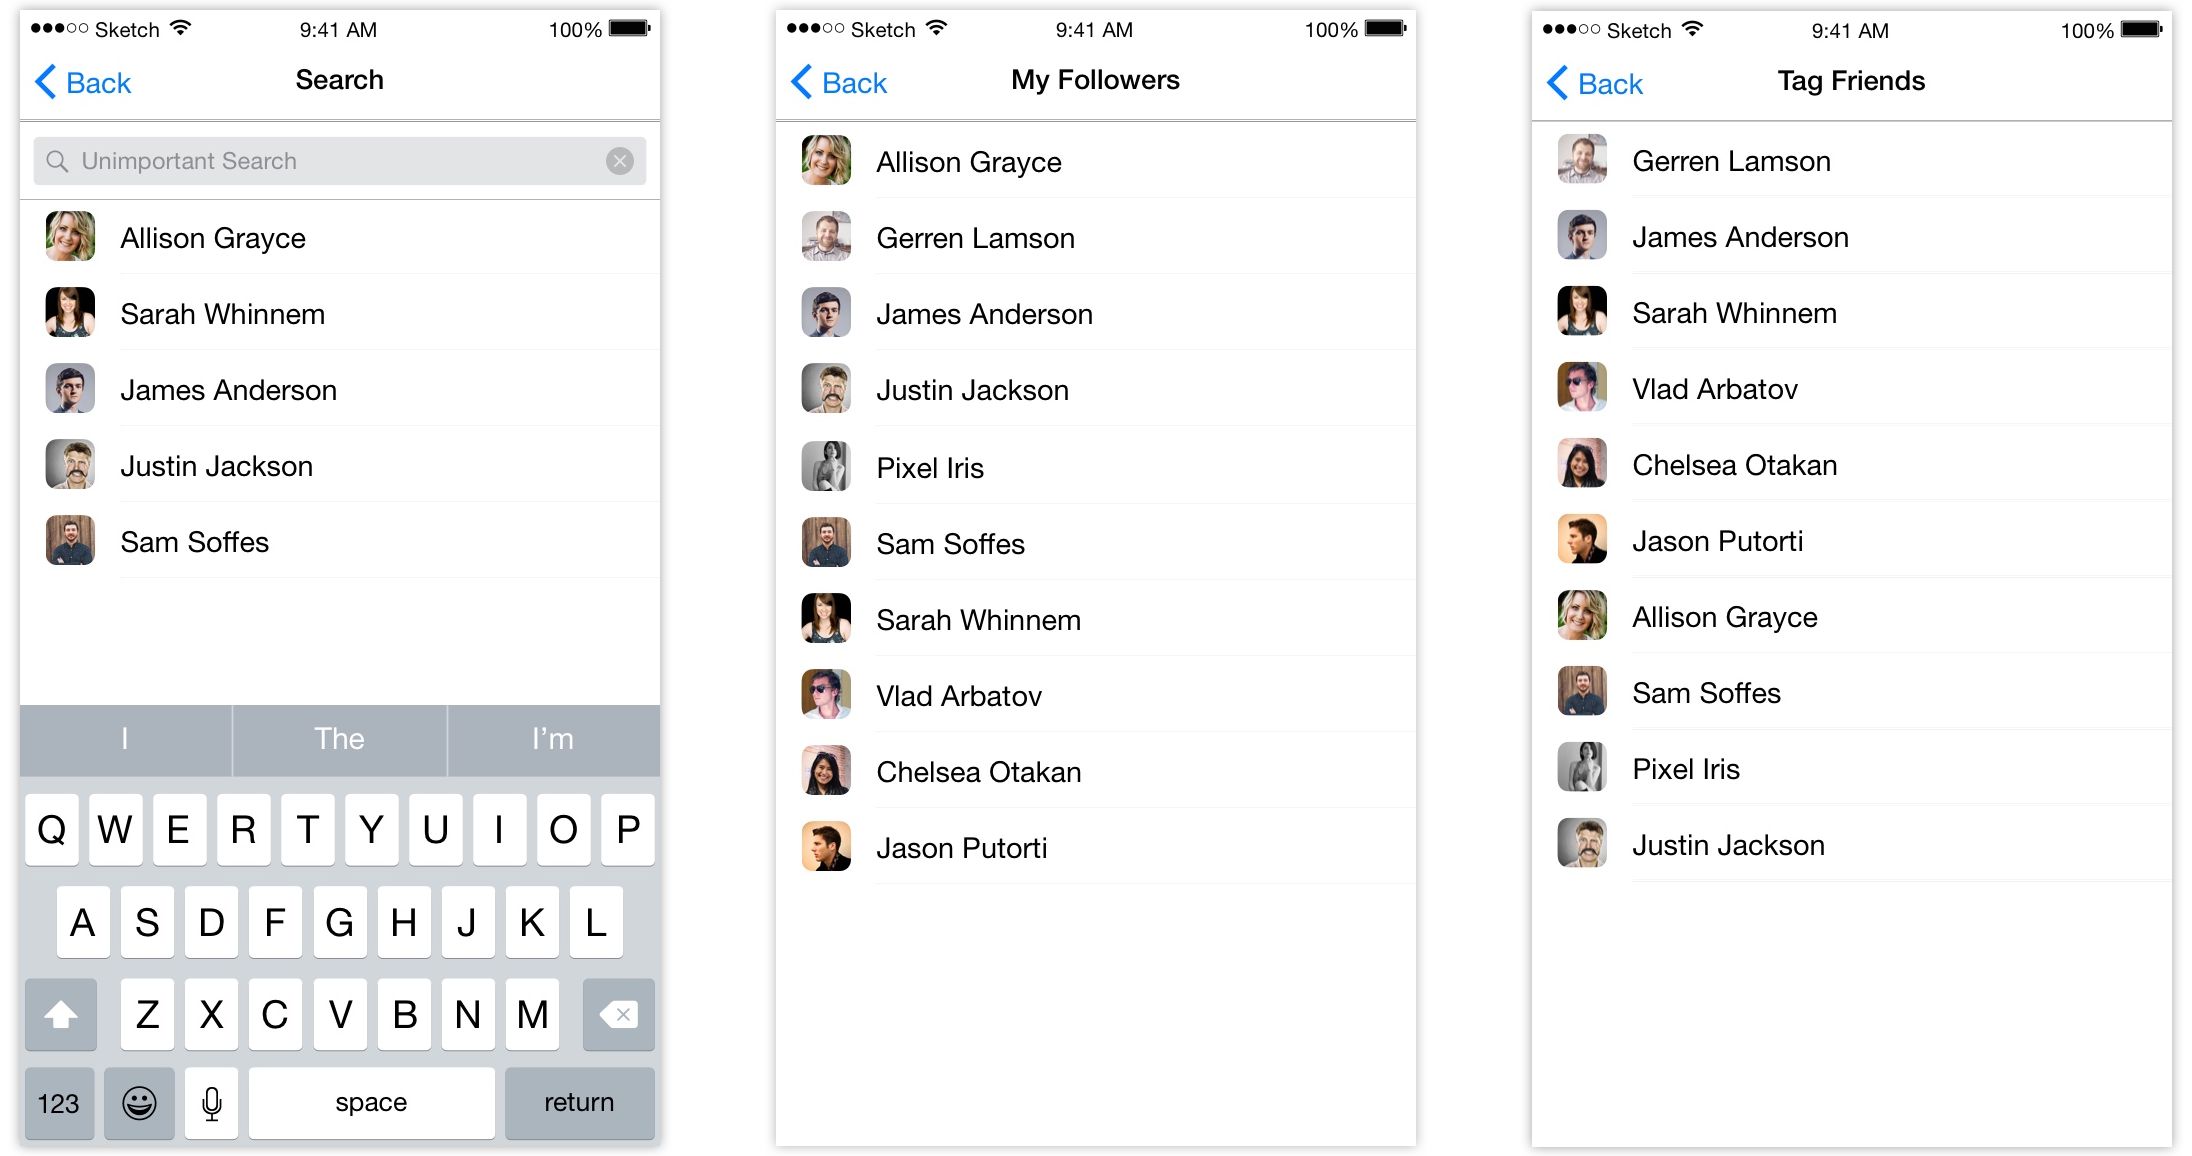
All three of these view controllers use the same UITableViewController to display their content. How cool is that?
Many new iOS developers don’t consider view controllers to be reusable. And really, who can blame them? When you’re used to seeing others stick all their logic in their view controllers, making reusable view controller components may not be near to hand.
In this article, we’ll be looking at how to use the View Controller Containment API to create reusable view controllers, mitigating the Massive View Controllers that plague certain projects.
The basics
The API that makes all this possible is the View Controller Containment API. Introduced in iOS 5.0, VC Containment is a simple dance of API calls that creates a hierarchy of View Controllers, much like UIViews. The containment API takes care of many concerns, the most important of which is UIViewController lifecycle method forwarding.
However, articles that talk about the Containment API will often present it in the context of custom container View Controllers. These are controllers that are built to present other controllers in a special way (think UINavigationController and UITabBarController).
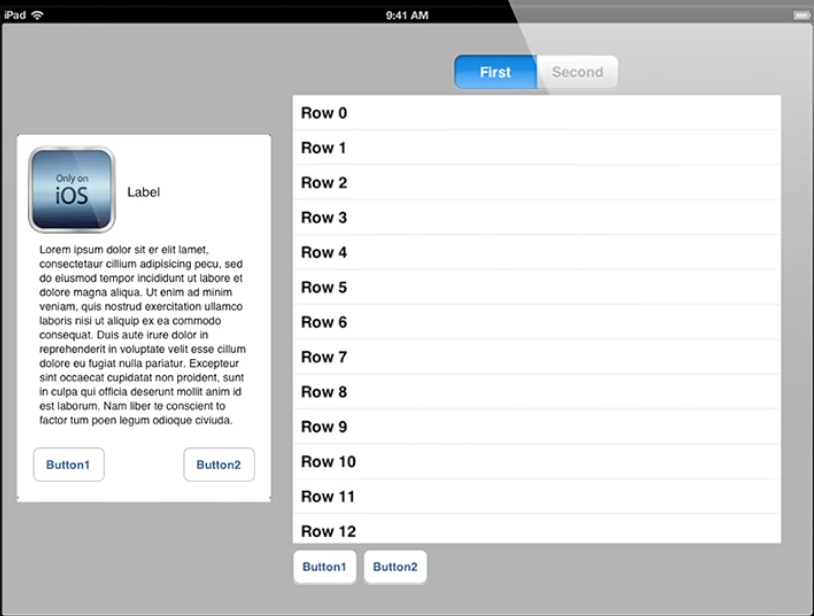
(Or sometimes, they look like this thing below, which isn’t really helpful to anyone.)
These examples show the power of the API, but there’s a whole other aspect to containment that we’ll be talking about here. We’ll be using containment to create reusable components, and give them meaning.
View Controllers as black boxes
With the above in mind, lets reevaluate our philosophy behind View Controllers.
Whenever possible, I like to think of View Controllers as black boxes. This means that from the outside, whatever is using the view controller shouldn’t care about how it does its thing, as long as it receives the correct outputs (e.g. delegate callbacks) given the proper inputs.
In other words, an ideal reusable view controller is one that you set up, display, then wait for stuff to happen. The parent supplies the dependencies and waits for its child to respond appropriately.
To achieve this, I use roughly the same setup for all my view controllers. First of all, dependencies that are vital to it working correctly get passed through the initializer. This ensures that if you’re going to create a View Controller, you know it’s at least going to display something.
Secondly, dependencies that are optional are set via public properties. Completely optional but easy to get to.
Finally, the behaviour I expect from my View Controller is defined through a delegate protocol. This can be anything from handling selections to asking for more data.
For most cases, this will produce a succinct header file which clearly summarizes all the important aspects of your class, and hides away the messy stuff that consumers aren’t interested in.
Back to our problem
So lets have another look at those 3 screens. What exactly can be reused? The obvious solution is to reuse the UITableViewCell. That’s a good start, but lets go one step further. Let’s make the whole table view reusable.
In order to do this, lets think of what kind of behaviour we expect from our UITableViewController? I’ll propose that we want to know when someone is selected. Secondly, what dependencies does our TableViewController need to operate correctly? Again, I’ll propose that it needs a data source, as well as a delegate.
This translates into a header file that looks like this:
@protocol PersonTableViewControllerDelegate <NSObject>

- (void)personTableView:(PersonTableViewController *)controller didSelectPerson:(Person *)person;

@end

@interface PersonTableViewController : UITableViewController

@property(nonatomic, weak) id<PersonTableViewControllerDelegate> delegate;

- (instancetype)initWithDataSource:(id<PersonTableViewDataSource>)dataSource;

@end
Notice what we’ve done here. The required dependency, which in our case is the data source, is set through our initializer. Optional dependencies, like the our controller’s delegate, are set as properties. The expected behaviour is present in our delegate protocol.
As for the implementation, it’s what you’d expect from a standard UITableViewController. You can check it out here:
Tying it all together
Now that we have our PersonTableViewController, lets take a look at how we can use it:
The first, and most basic view controller above is the list of followers, so lets start with that:
@interface FollowersViewController ()

@property(nonatomic, strong) PersonTableViewController *personTableViewController;

@end

@implementation FollowersViewController

- (void)loadView {
    self.view = [[UIView alloc] init];

    StaticPersonTableViewDataSource *dataSource = [[StaticPersonTableViewDataSource alloc] initWithPeople:[Person createPeople]];
    self.personTableViewController = [[PersonTableViewController alloc] initWithDataSource:dataSource];

    [self addChildViewController:self.personTableViewController];
    [self.view addSubview:self.personTableViewController.view];
    [self.personTableViewController didMoveToParentViewController:self];

    [self.personTableViewController.view mas_makeConstraints:^(MASConstraintMaker *make) {
        make.edges.equalTo(self.view);
    }];
}
Pretty simple, isn’t it? We use the containment API to add our PersonTableViewController and we’re done. (Note that we’re using the excellent Masonry library to do programmatic AutoLayout. I could live without it, but I choose not to 🙃)
Now lets reuse our PersonTableViewController in our tagging view controller. Check it out!
@interface TagViewController () <PersonTableViewControllerDelegate>

@property(nonatomic, weak) id<TagViewControllerDelegate> flowController;
@property(nonatomic, strong) PersonTableViewController *personTableViewController;

@end

@implementation TagViewController

- (instancetype)initWithFlowController:(id<TagViewControllerDelegate>)flowController {
    self = [super init];
    if (!self) {
        return nil;
    }

    _flowController = flowController;
    self.navigationItem.title = @"Tag someone!";

    return self;
}

- (void)loadView {
    self.view = [[UIView alloc] init];

    StaticPersonTableViewDataSource *dataSource = [[StaticPersonTableViewDataSource alloc] initWithPeople:[Person createPeople]];
    self.personTableViewController = [[PersonTableViewController alloc] initWithDataSource:dataSource];
    self.personTableViewController.delegate = self;

    [self addChildViewController:self.personTableViewController];
    [self.view addSubview:self.personTableViewController.view];
    [self.personTableViewController didMoveToParentViewController:self];

    [self.personTableViewController.view mas_makeConstraints:^(MASConstraintMaker *make) {
        make.edges.equalTo(self.view);
    }];
}

#pragma mark - PersonTableViewControllerDelegate

- (void)personTableView:(PersonTableViewController *)controller didSelectPerson:(Person *)person {
    [self.flowController tagViewController:self didTagPerson:person];
}
Again, pretty simple. We’re reusing the same tableview in a different context, and our code looks better for it. Besides loading the view, this controller handles a single action (selecting a person) and in turn, gives it even more meaning (i.e. this person isn’t just selected, they’re tagged).
Finally, lets see how we’d implement our SearchViewController. This guy is a little more involved (we’re using 2 different PersonTableViewControllers), but that’s the nature of the beast when using Apple’s UISearchController.
@interface SearchViewController () <PersonTableViewControllerDelegate, UISearchResultsUpdating>

@property(nonatomic, strong) NSArray *searchPeople;

@property(nonatomic, weak) id<SearchViewControllerDelegate> flowController;
@property(nonatomic, strong) PersonTableViewController *personTableViewController;
@property(nonatomic, strong) UISearchController *searchController;

@property(nonatomic, strong) SearchResultsDataSource *resultsDataSource;
@property(nonatomic, strong) PersonTableViewController *resultsTableViewController;

@end

@implementation SearchViewController

- (instancetype)initWithPeople:(NSArray *)people flowController:(id<SearchViewControllerDelegate>)flowController {
    self = [super init];
    if (!self) {
        return nil;
    }

    _flowController = flowController;
    _searchPeople = people;
    self.navigationItem.title = @"Filter";

    return self;
}

- (void)loadView {
    self.view = [[UIView alloc] initWithFrame:[[UIScreen mainScreen] bounds]];

    StaticPersonTableViewDataSource *dataSource = [[StaticPersonTableViewDataSource alloc] initWithPeople:self.searchPeople];
    self.personTableViewController = [[PersonTableViewController alloc] initWithDataSource:dataSource];
    self.personTableViewController.delegate = self;

    [self addChildViewController:self.personTableViewController];
    [self.view addSubview:self.personTableViewController.tableView];
    [self.personTableViewController didMoveToParentViewController:self];

    self.resultsDataSource = [[SearchResultsDataSource alloc] init];
    self.resultsTableViewController = [[PersonTableViewController alloc] initWithDataSource:self.resultsDataSource];
    self.resultsTableViewController.delegate = self;

    self.searchController = [[UISearchController alloc] initWithSearchResultsController:self.resultsTableViewController];
    self.searchController.searchBar.placeholder = @"Filter";
    self.searchController.searchResultsUpdater = self;

    [self.searchController.searchBar sizeToFit];
    self.personTableViewController.tableView.tableHeaderView = self.searchController.searchBar;
    self.definesPresentationContext = YES;

    [self setupConstraints];
}

- (void)setupConstraints {
    [self.personTableViewController.tableView mas_makeConstraints:^(MASConstraintMaker *make) {
        make.edges.equalTo(self.view);
    }];
}

#pragma mark - PersonTableViewControllerDelegate

- (void)personTableView:(PersonTableViewController *)controller didSelectPerson:(Person *)person {
    [self.flowController searchViewController:self didSelectPerson:person];
}

#pragma mark - UISearchResultsUpdating

- (void)updateSearchResultsForSearchController:(UISearchController *)searchController {
    NSString *searchTerm = searchController.searchBar.text;

    NSPredicate *searchPredicate = [NSPredicate predicateWithFormat:@"name contains[cd] %@", searchTerm];
    NSArray *filteredPeople = [self.searchPeople filteredArrayUsingPredicate:searchPredicate];

    self.resultsDataSource.peopleResults = filteredPeople;
    [[(UITableViewController *)searchController.searchResultsController tableView] reloadData];
}

@end
In Conclusion
So what have we gained? One of the clear wins is that we’ve avoided implementing 3 different UITableViewControllers that all do the same thing. Instead, we created a reusable table view for displaying people and used it in different contexts. This reduces the amount of code in each of our 3 other view controllers, making their purpose (i.e. What they actually do with the data) separate from the presentation of that data.
Another cool win is that now we have a UI component that can still be reused elsewhere in our app. Its header file clearly defines what it does and what it needs in order to work. Anyone can hop into our project, see this PeopleTableViewController, and instantly know what it’s for.
There is a downside though: we now have three different view controllers coupled to our PersonTableViewController. This means that changes to our PersonTableViewController could potentially break one of our three other view controllers. That being said, these kinds of view controllers are extremely easy to test, so this downside can easily be mitigated.
Does this seem simple? Good, because that’s the point. While clean code may not always be easy, it should certainly be clear and simple. I hope that through the examples above, you’ll feel empowered to reduce the size of your own View Controllers and create reusable children.
To recap:
- Learn the View Controller Containment dance
- Think about your child view controller as a black box (stuff goes in, stuff comes out)
- Essential dependencies are passed in its init method
- Optional dependencies are set via public properties
- Outbound behaviour is expressed through a delegate protocol
- Wield your new child view controller with strength and confidence!
Sample project is available on GitHub
Have you ever used the Containment API in this way? Do you think this can apply this to your own projects? Let me know in the comments!