Whenever you start a new project in Xcode, you need to choose between Storyboards and SwiftUI. Conspicuously missing from this list is “None of the above”.
For everyone that wants to build their app with programmatic UI, you’re left in the dust. If you want to start a project with programmatic AutoLayout, one of the first things you must do is remove Main.storyboard. However, it’s not quite as straightforward as you’d think.
Today, let’s go through the steps for removing the Main.storyboard from our project.
Step 1: Delete Main.storyboard
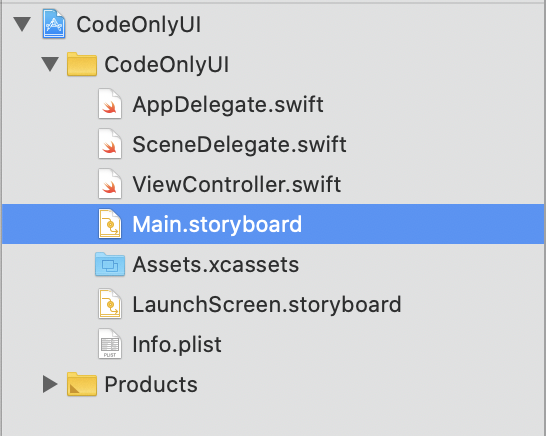
This is the easy part. Find Main.storyboard in the project navigator and smash that delete key with all your might. When prompted, select “Move to Trash”, and put it where it belongs! 😈
This will remove the file from your project, but references to Main.storyboard will still exist. Let’s get rid of those.
Step 2.1: Remove Main Storyboard File Base Name in your Info.plist
Have you ever wondered how iOS knows which storyboard to instantiate when your app first launches? Like the rest of your app’s metadata, this is contained in the Info.plist file.
Locate the Info.plist in the project navigator, and remove the Main Storyboard File Base Name key.
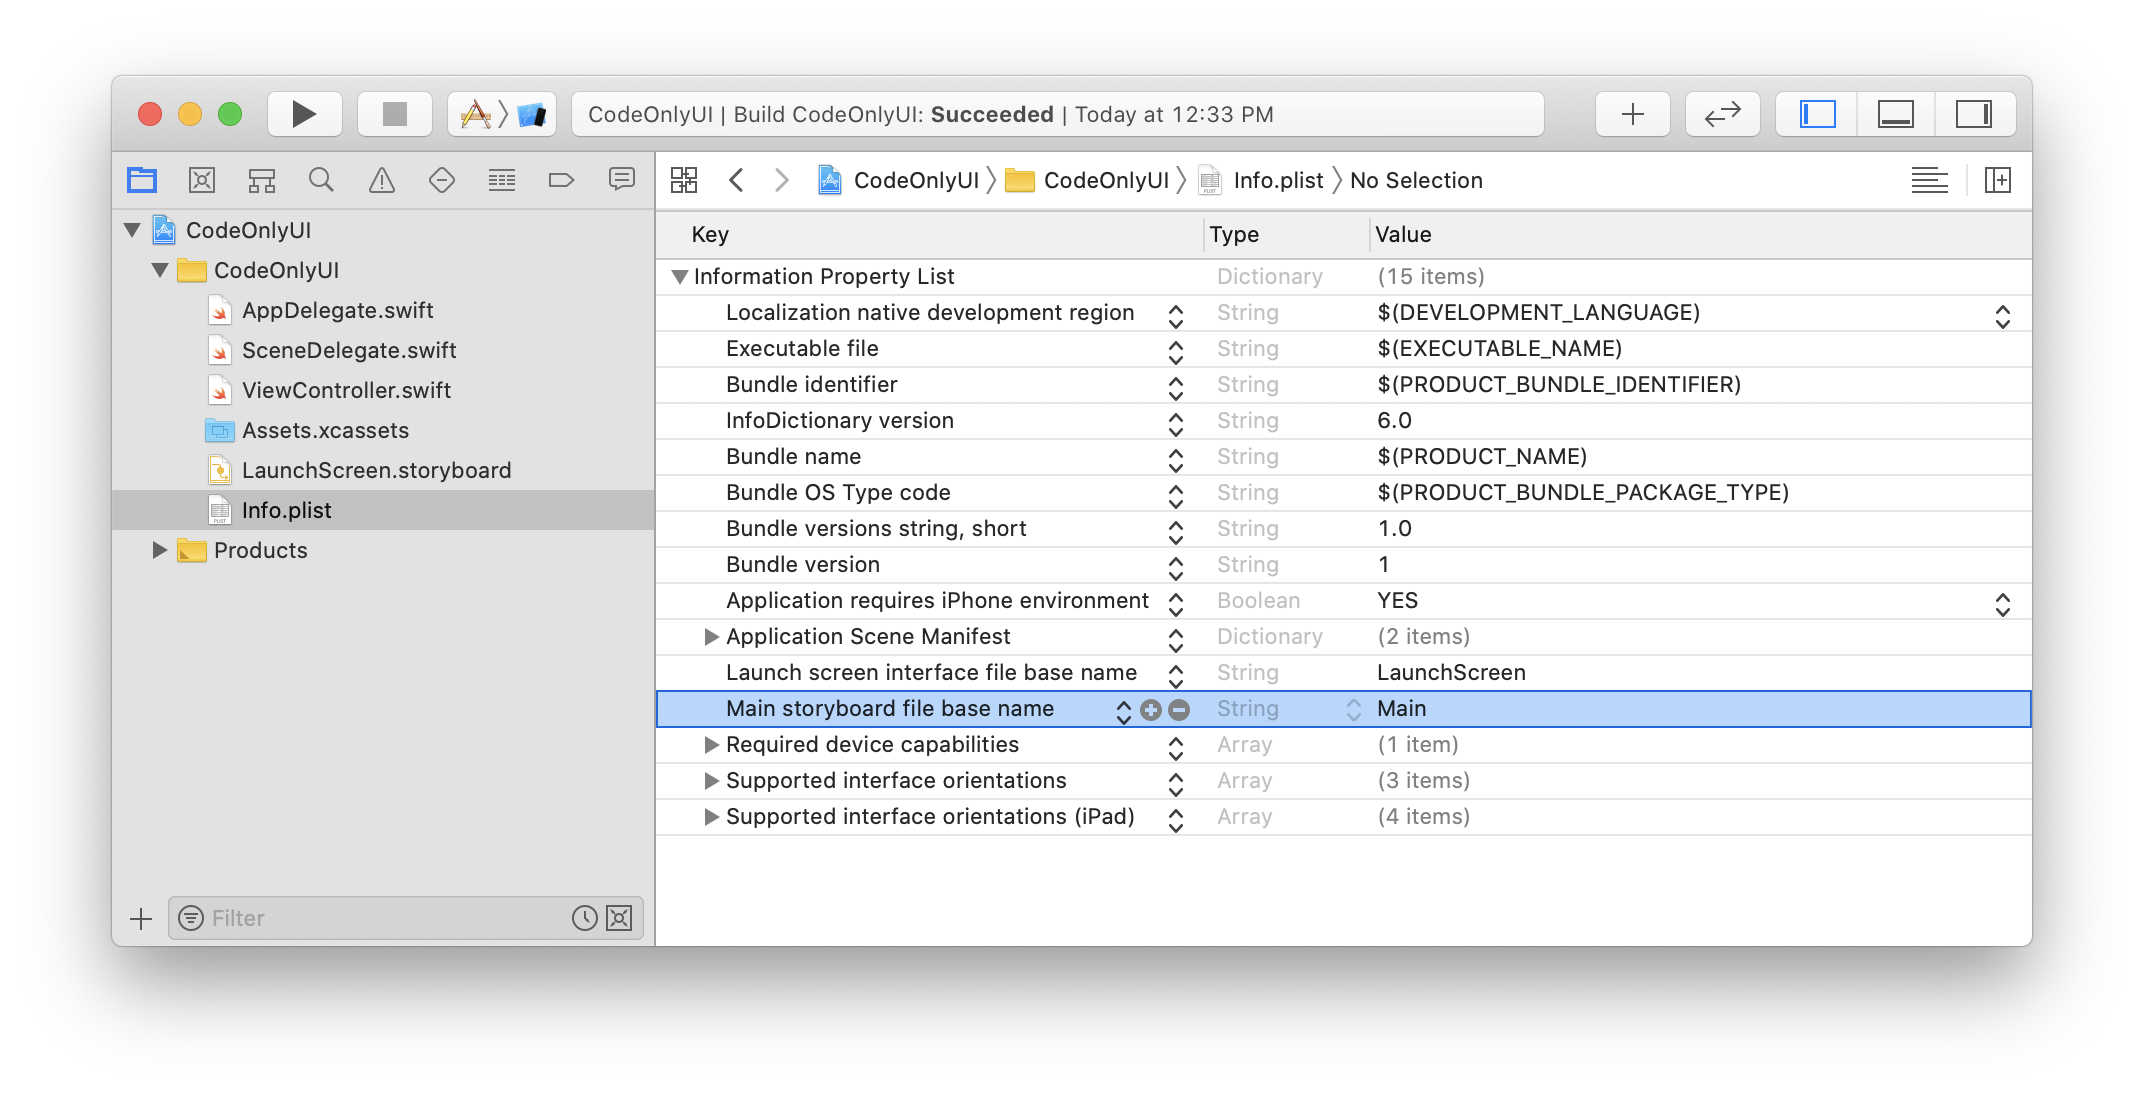
This indicates to the system that there isn’t a default storyboard, so it won’t bother trying to find one.
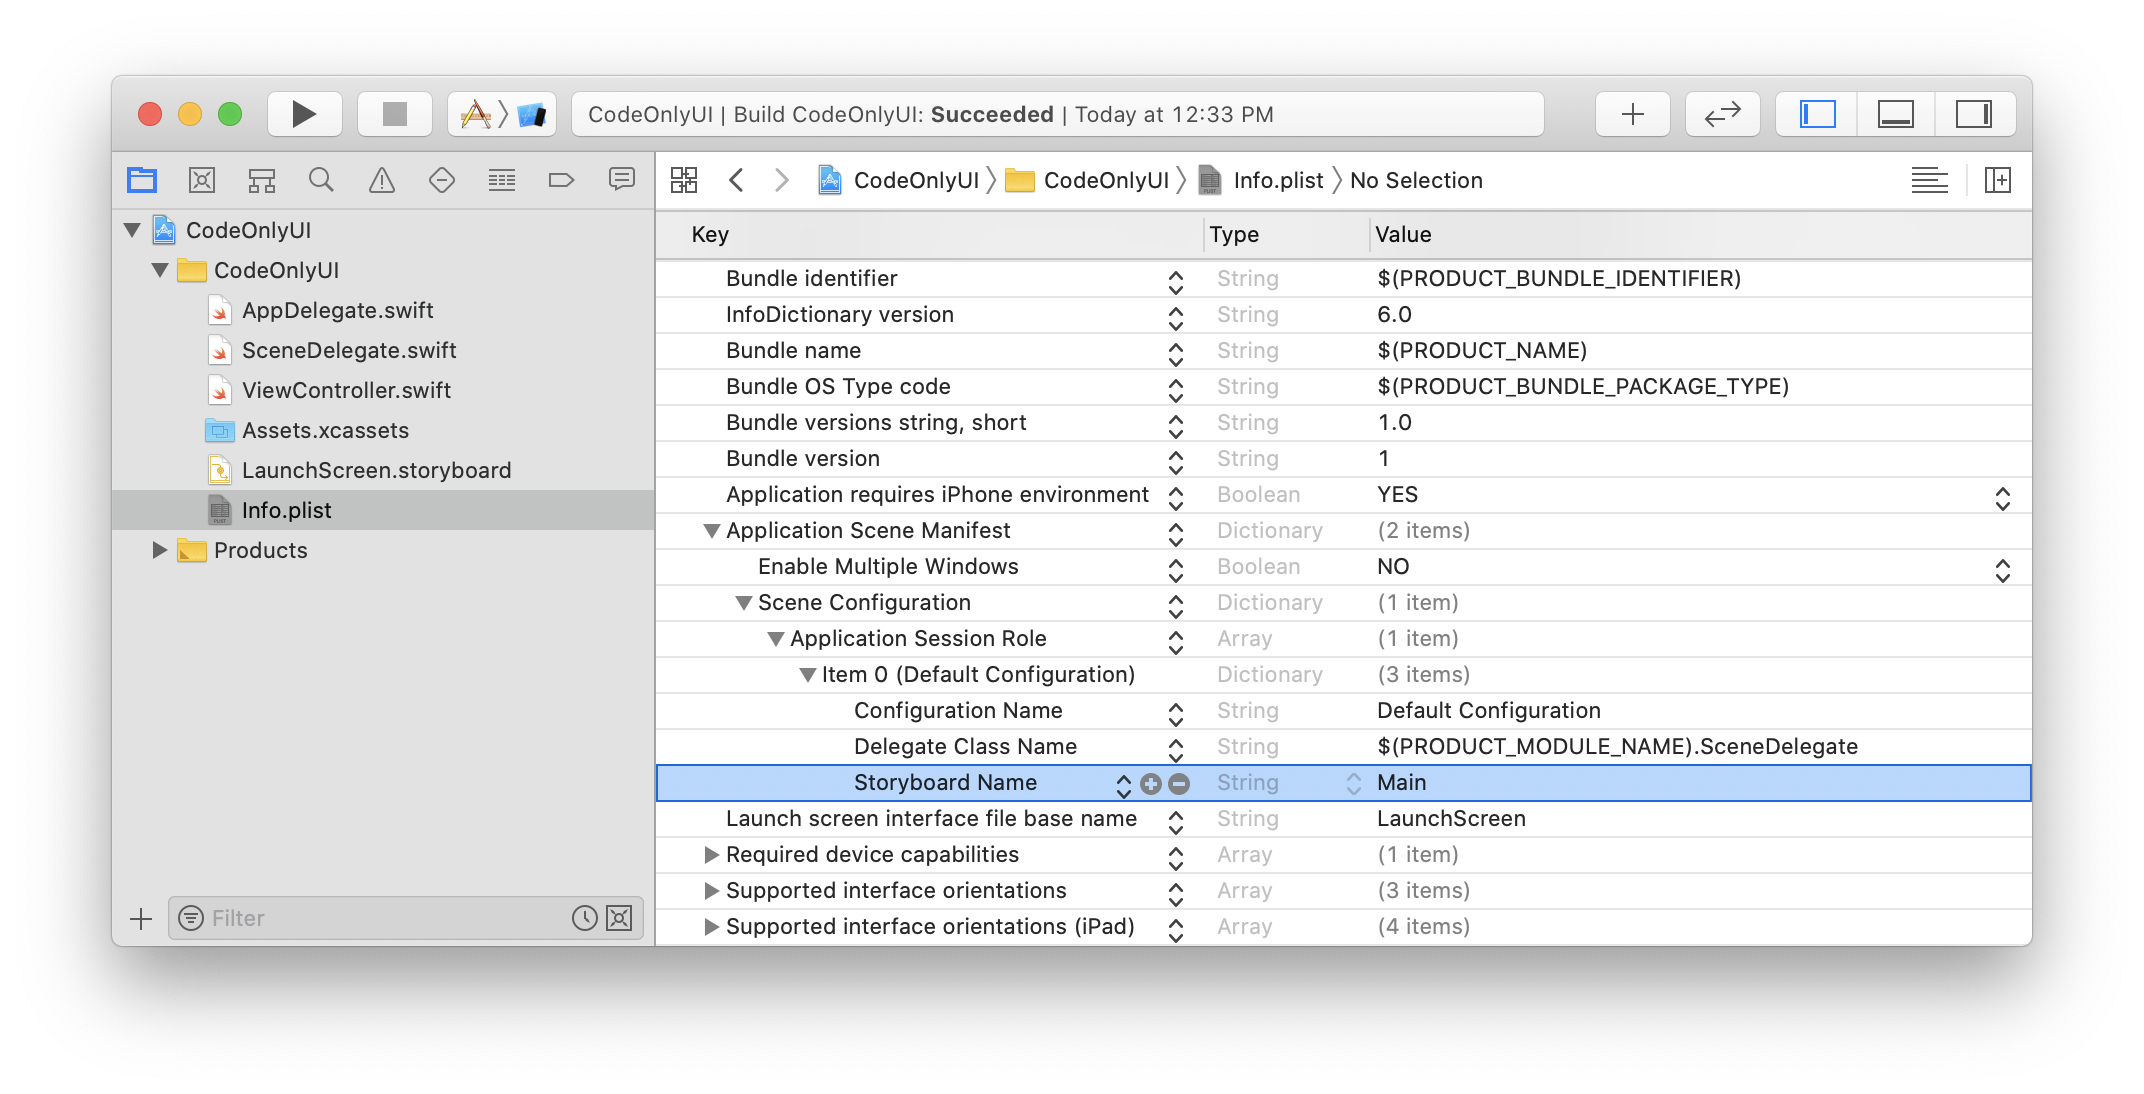
Step 2.2: Remove Main.storyboard from the Scene Manifest in your Info.plist
New in iOS 13, UISceneDelegate and friends have inherited a lot of the work that AppDelegate used to manage. If you created a new project with iOS 13 or higher as your target, you’ll need to remove the Storyboard Name key from inside your application scene manifest as well.
Step 3: Update your AppDelegate and SceneDelegate
Now that iOS will no longer try to load your UI from a storyboard, we need to manually create its UIWindow and assign it a root view controller. For projects targeting iOS 13 and above, you can do this in your SceneDelegate, inside scene(willConnectTo: options:) .
class SceneDelegate: UIResponder, UIWindowSceneDelegate {
    var window: UIWindow?

    func scene(_ scene: UIScene,
               willConnectTo session: UISceneSession,
               options connectionOptions: UIScene.ConnectionOptions) {
        guard let windowScene = (scene as? UIWindowScene) else { return }

        let window = UIWindow(windowScene: windowScene)
        window.rootViewController = ViewController()
        self.window = window
        window.makeKeyAndVisible()
    }
}
What’s more, if you’re still supporting iOS 12 or below, you’ll need to update your AppDelegate since that’s the entry point of your app. Here’s what your application:didFinishLaunchingWithOptions: will look like.
@UIApplicationMain
class AppDelegate: UIResponder, UIApplicationDelegate {
    var window: UIWindow?

    func application(_ application: UIApplication, didFinishLaunchingWithOptions launchOptions: [UIApplication.LaunchOptionsKey: Any]?) -> Bool {
        window = UIWindow()
        window?.rootViewController = RootViewController()
        window?.makeKeyAndVisible()

        return true
    }
}
Both of these snippets accomplish roughly the same thing. They each instantiate a new UIWindow, they assign a rootViewController, and they make the window key and visible.
Now you’re all set!
If you completed the steps above, you should be able to run your app without any unexpected crashes, and with all the fun of building your UI in code!